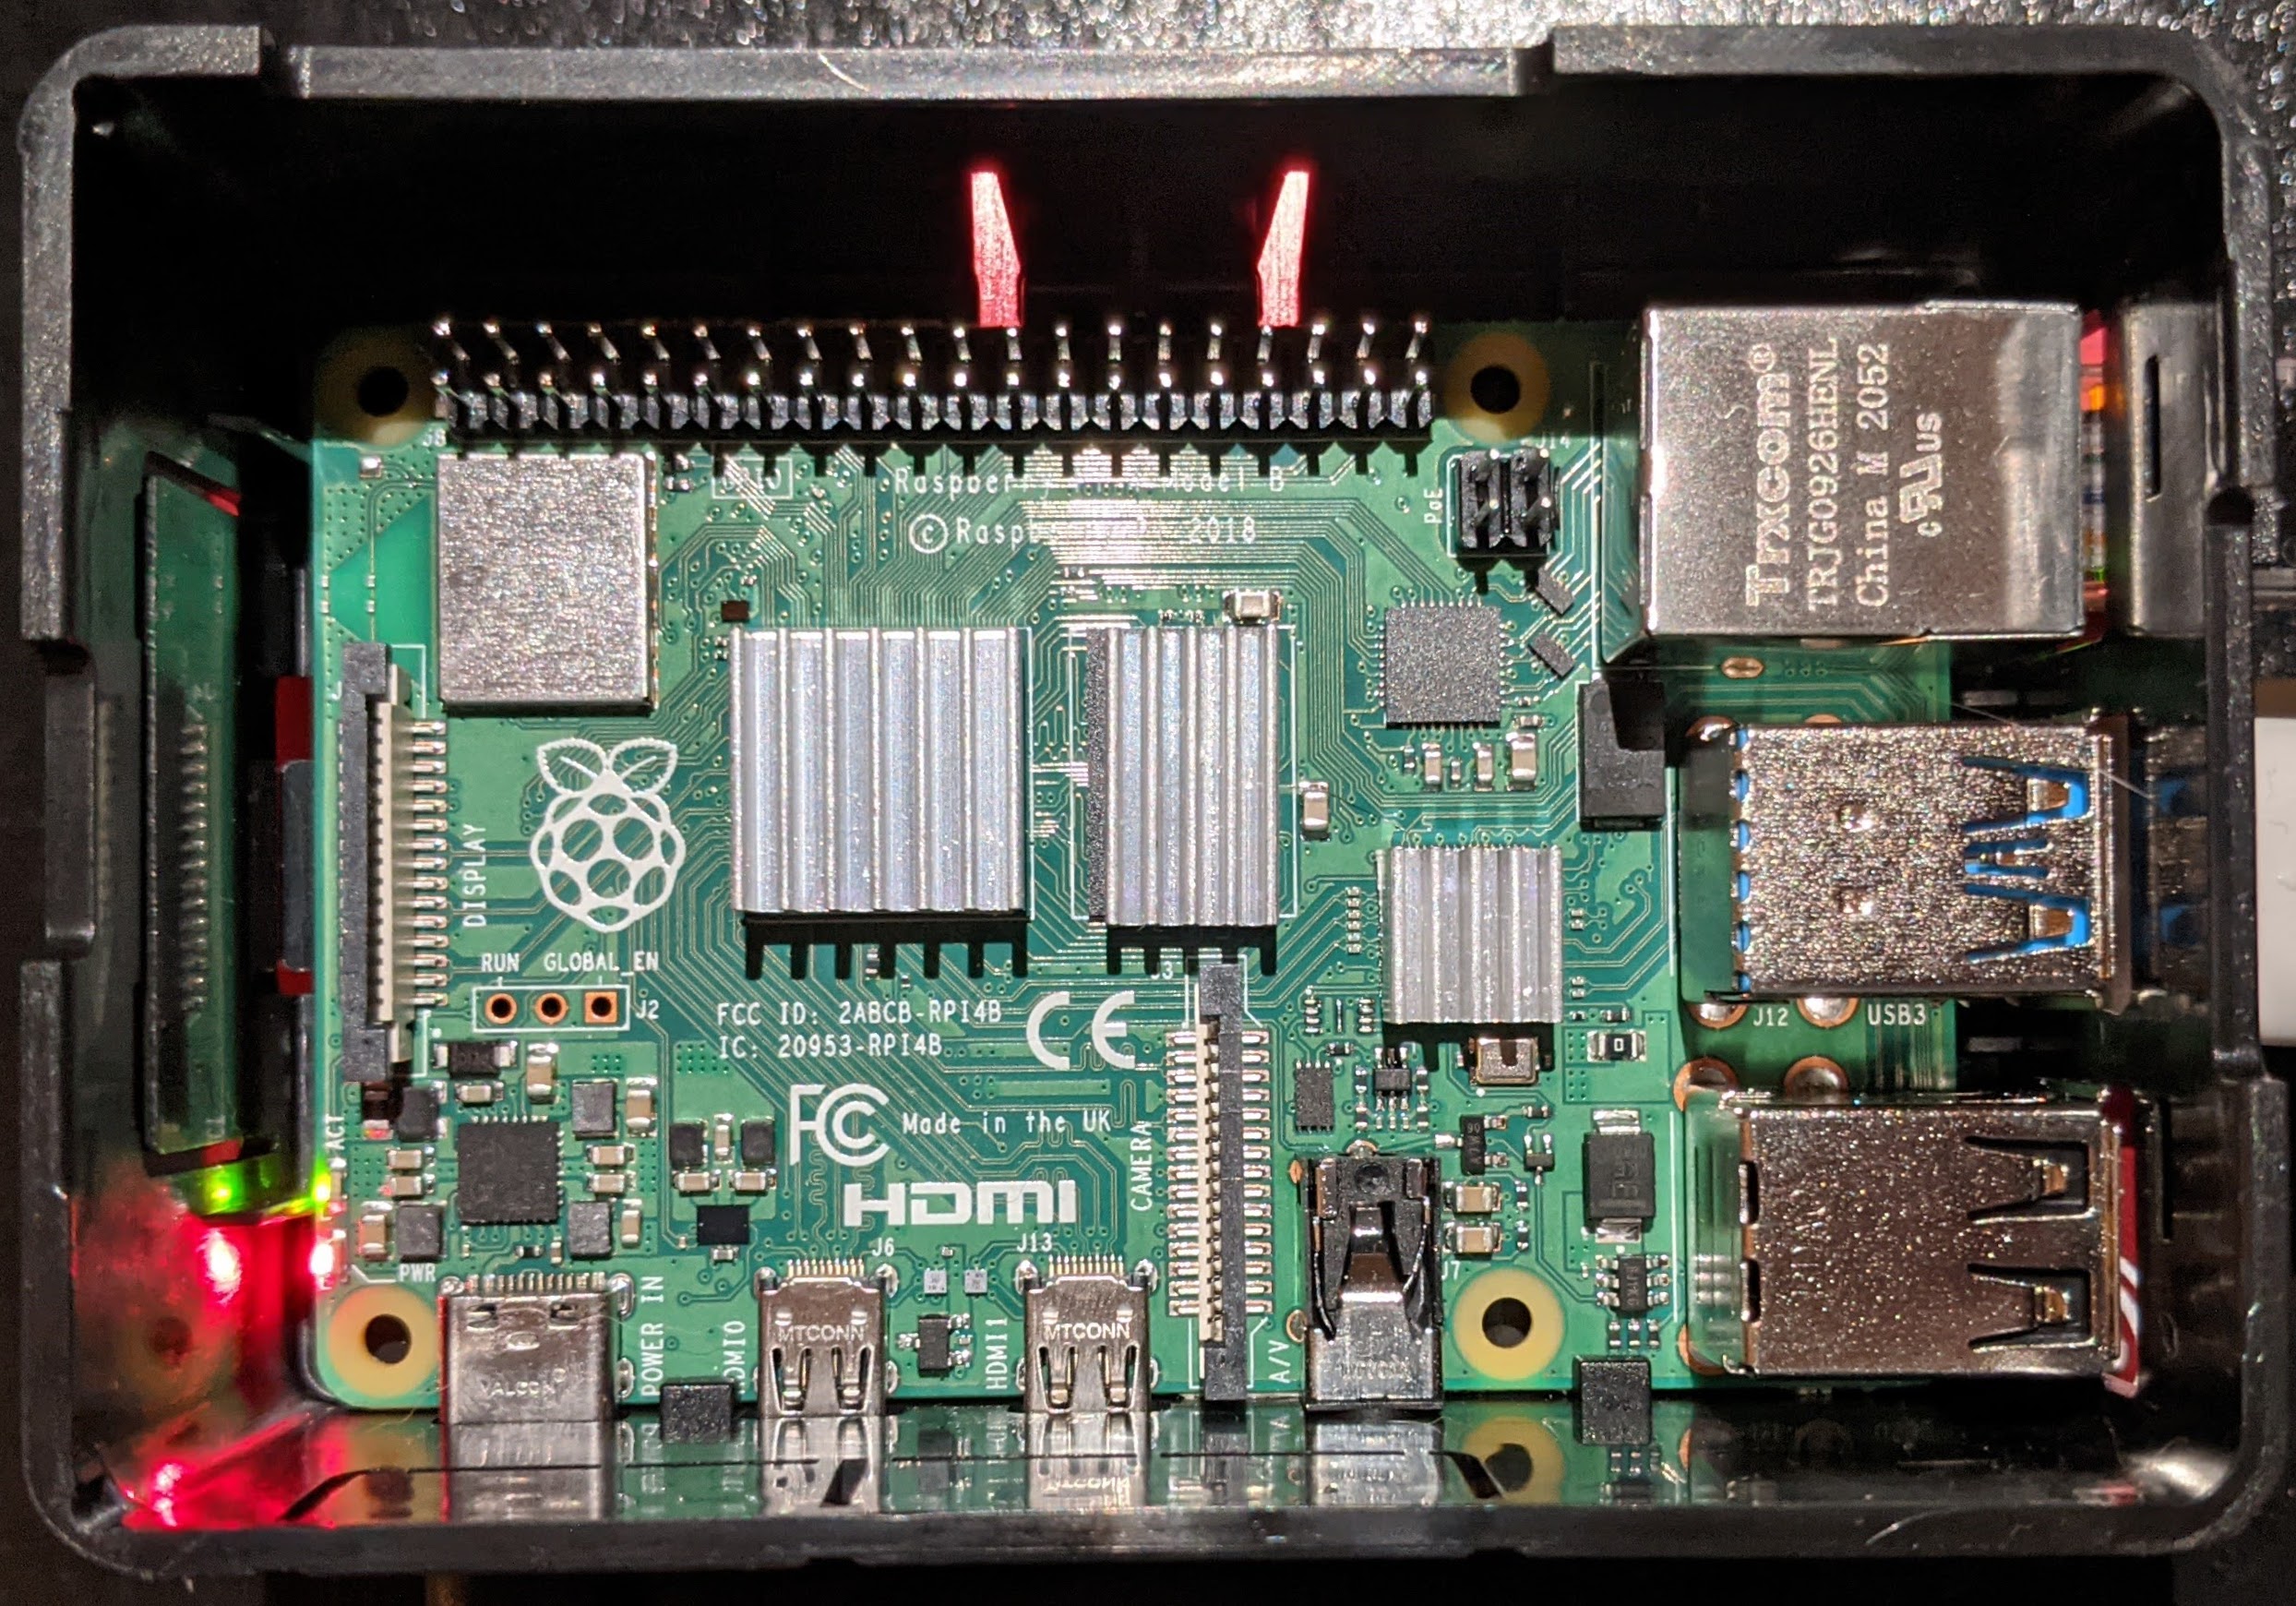
How to make an internet in a box using a Raspberry Pi?
Global electronic component supplier AMPHEO PTY LTD: Rich inventory for one-stop shopping. Inquire easily, and receive fast, customized solutions and quotes.
Creating an "Internet-in-a-Box" using a Raspberry Pi involves setting up the device as a self-contained, offline server hosting a library of digital content. It provides access to resources such as Wikipedia, books, videos, and educational materials without requiring an internet connection. Here's a step-by-step guide:

What You'll Need:
-
Hardware:
- Raspberry Pi (preferably Raspberry Pi 4 with at least 2GB RAM)
- MicroSD card (32GB or larger, depending on the content size)
- Power supply for the Raspberry Pi
- External storage (optional, for large content libraries)
- Wi-Fi dongle or Ethernet cable (if not using built-in Wi-Fi)
-
Software:
- Raspberry Pi OS (Lite or Full)
- Tools for image burning (e.g., Balena Etcher)
- Software packages like Kiwix and content from the Internet-in-a-Box project.
Steps to Build the Internet-in-a-Box:
1. Set Up Raspberry Pi
- Download Raspberry Pi OS from the official website.
- Flash the OS onto the MicroSD card using Balena Etcher or a similar tool.
- Insert the MicroSD card into the Raspberry Pi and power it up.
- Follow the setup instructions to configure the device.
2. Install Required Software
- Update and upgrade the system:
- Install Kiwix:
- Install a web server (e.g., Nginx or Apache):
- Optionally, install Samba or FTP for content management:
3. Download Content
- Visit the Kiwix content library or Internet-in-a-Box to download offline resources such as:
- Wikipedia
- Project Gutenberg (books)
- Khan Academy (videos)
- OpenStreetMap
- Save the content on your Raspberry Pi’s storage or an external drive.
4. Configure Kiwix
- Create a directory for content (e.g.,
/home/pi/content). - Move downloaded
.zimfiles (content files for Kiwix) into the directory. - Run the Kiwix server:
- Access the content locally via the browser at
http://<raspberry-pi-ip>:8000.
5. Set Up a Local Wi-Fi Hotspot (Optional)
- Install hostapd and dnsmasq:
- Configure hostapd to create a Wi-Fi network.
- Configure dnsmasq to provide IP addresses to connected devices.
- Set up Nginx or Apache to serve a landing page pointing to Kiwix and other resources.
6. Automate the Server Start-Up
- Create a systemd service for Kiwix to start at boot:
Add the following content:
[Unit]Description=Kiwix Server
After=network.target
[Service]
ExecStart=/usr/bin/kiwix-serve --port=8000 /home/pi/content
Restart=always
User=pi
[Install]
WantedBy=multi-user.target
- Enable the service:
7. Test the Setup
- Connect to the Wi-Fi network created by the Raspberry Pi.
- Open a browser and navigate to the Raspberry Pi’s IP address or the custom landing page.
- Access the offline resources to ensure everything is working.
Optional Enhancements:
- Add a battery pack for portability.
- Integrate additional software like Nextcloud for file sharing.
- Include a search engine like Whoosh for enhanced search capabilities.
By completing these steps, you'll have a portable "Internet-in-a-Box" that can provide valuable resources in offline environments.
